I am so excited to be a Guest Tutorial Author on SplitcoastStampers again!
My last tutorial was on colouring hair (and can be found here). This tutorial is on creating an outdoor background with clouds and grass.
You can find the Outdoor Backgrounds tutorial at SplitcoastStampers here.
This is the card (above) I made in the Step by Step instructions. The image is a digital stamp from Mo Manning (Mother to be) and it is all coloured with Copic markers (although the same principles in the tutorial can be applied to other marker brands and even pencils). I've also used a rubber stamp from Our Daily Bread Designs "As You Graduate" for the sentiment.
The tutorial also includes a video. Below is the card I did in the video tutorial.
You can watch the video through the SplitcoastStampers tutorial page here or through my YouTube channel here (the video on my You Tube channel has music added if you don't like sitting through long periods of "silence". If you do prefer silence - watch the one on the SCS page.
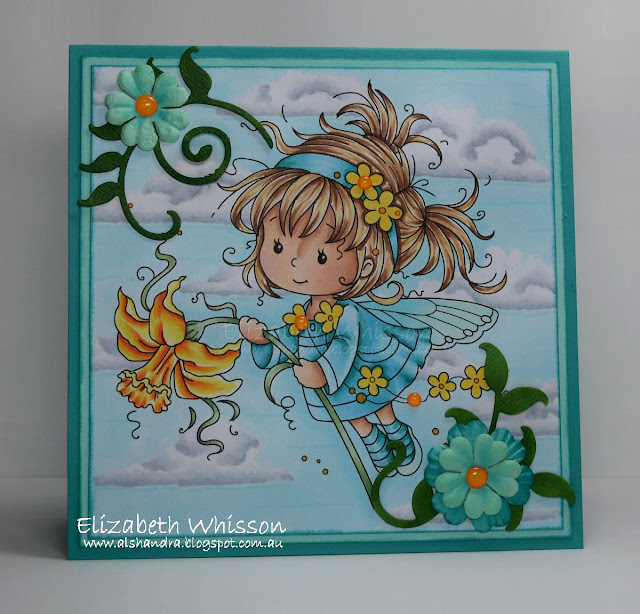
The card above uses the digital stamp, Love You Slow Much, from Whimsy Stamps. All coloured with Copic markers (view a speed colouring video here). I've used Our Daily Bread Designs Lovely Leaves to diecut the leaves and the rest are bought items.
At the end of the video I briefly show another card (below) which uses the same techniques as the tutorial but just a different style of clouds.
This card uses the digital stamp, Daphne, also from Whimsy Stamps, coloured with Copic markers (see this blog post for Copic colours used). I've used Spellbinders Shapeabilities "Foliage Two" to diecut the leaves and the rest are bought items (the flowers were originally white and were coloured with Copic markers to match the card colour theme).
I hope you enjoy the tutorial!
Thanks for looking!


Elizabeth, I love both of these cards, and your coloring is exquisite! You did a great tutorial, and I'm so glad to see many members on SCS love it! Wonderfully done, my friend! Hugs!
ReplyDelete